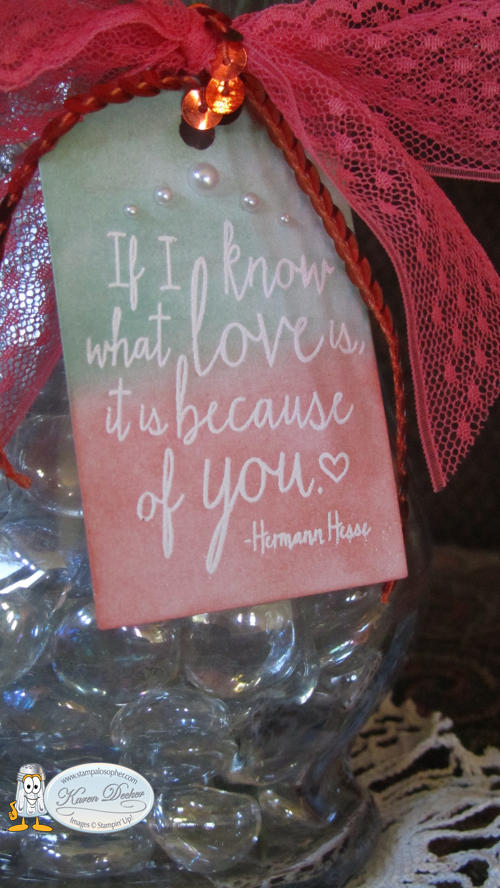
May the cure be found….
(If you are viewing this in your email, you can click on the little SAL image at the left to go to the full blog.)
Stampin’ Up! joined the fight for the cure of breast cancer by contributing to research a portion of sales from each Pink Paper Pumpkin purchased this month! Thank you to all who subscribed and helped the fight!
Congratulations survivors! We pray for your continued good health. We hurt for those still in the trenches and cry for those we’ve lost. Stay strong!
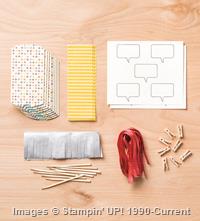
The little 3X3 cards were inspired by a card made by our own team member Jennifer Michael.
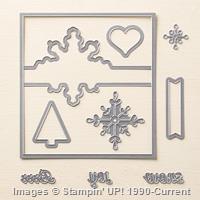
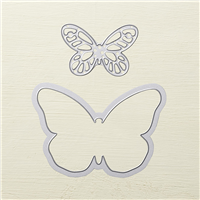
The Paper Pumpkins come with a crazy too big USPS label but a bit of Un-du takes it right off so you have all of the pretty pink box to see. The card I attached to the front uses our Bitty Butterfly punch and a sizzlit given me by my dear sister and cancer survivor, Sharon, also, a new team member. Welcome, Sharon.
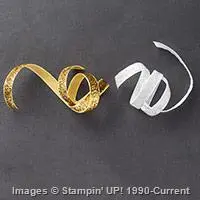
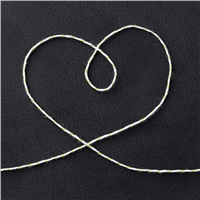
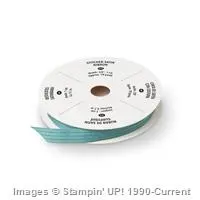
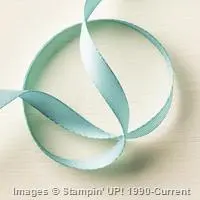
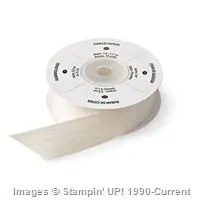
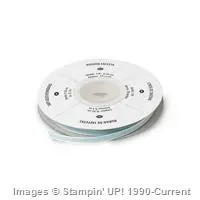
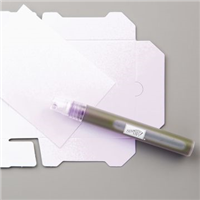
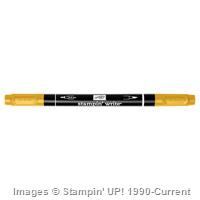
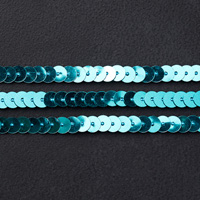
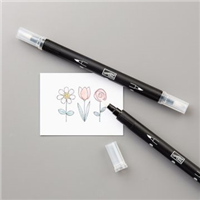
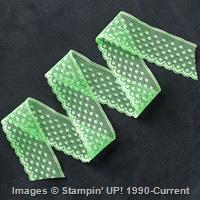
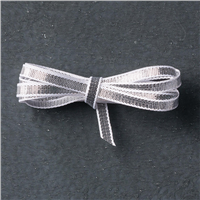
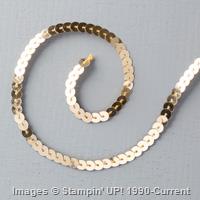
The ribbon is the White 3/8″ Glitter ribbon found on page 29 of the holiday catalog. The picture doesn’t do the sparkles justice. You just use a marker of your desired color to color the back and voila! colored glittery ribbon.
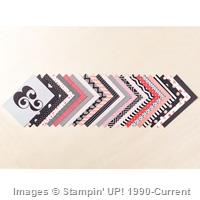
I used Pink Pirouette cardstock for the card base and our Shimmery White cardstock for the top. The “For You” uses our Bitty Banners Framelits though the stamp itself is retired. The Groovy Love stamp set has a stamp that says “From My Heart” that would be a perfect substitute!
Built for Free Using: My Stampin Blog
Built for Free Using:My Stampin Blog
Build A Bouquet
Hello Stamping Friends,
(If you are viewing this in your email, it is just a post. Click on the little SAL PAL image to go to the main blog. Thank you for following!)
Next event: Card Buffet, October 17, 10AM – 4PM I will have six designs. Make one of each design or just pick two or three designs and make multiples of those designs. Please RSVP before noon on Thursday so I have enough card kits. Lunch and snacks are provided. Cost is $3 per card.
Blog Updates: There are now tabs at the top of the blog which allow you to go directly to the catalogs and another tab to go to the Recipe Box where you can get the printable downloads of project instruction sheets, and you can click on the thumbnail picture to go back to the blog where that project was originally introduced. When you want to make a card that is similar but do not want to try and figure out the dimensions, visit the Recipe Box. Let me know if this helps spice up your crafting life.
Do you remember the front of the Occasions Catalog in January? It was the beautiful bouquet kit. I needed a special bouquet for a special friend and was delighted with this kit.
Several of you bought the Build A Bouquet kit so hopefully this will inspire you to make it. Just remember it is a project and don’t expect to get it done in one evening. I kept reminding myself that it wasn’t a card to be done in an hour but a project, like a quilt, to be done over time-but well worth the time. The back was as pretty as the front:
The “Build A Bouquet” stamp set had a perfect message:
Give me a call when you get ready to build your own bouquet and you can use my stamp set and the directions that I recreated so they were easier to follow. 303-815-0838
Today is the last day to subscribe to Paper Pumpkin and get the collectible “Pink” box and support BCRF.
Go to: http://www.mypaperpumpkin.com to sign up, or go to the online store to buy a prepaid subscription. Next month should be Christmas cards so you could save money by buying a three month subscription. Click below to order: 
Who’s up for a Paper Pumpkin Party???
Last but not least we have our weekly deals, just click to go directly to the online store and order:
Built for Free Using: My Stampin Blog
Built for Free Using:My Stampin Blog
Grateful For You, Thinking of You
(Click on the little Sal Pal image to go to the main blog)
Hello Stamping Friends,
It isn’t too early to start thinking about the holidays! Accordingly, our September club was all about Thanksgiving… sort of…..
The new Holiday catalog is so full of yummy stamp sets and tools that I was tempted to jump straight to Christmas cards but I didn’t….not exactly….. My first card is the standard for a Thanksgiving card but my second card could actually be used for either Thanksgiving or Christmas. My daughter, Stacia, lives in Steamboat Springs and the snow will be falling at Thanksgiving so the snowy card is perfect for that mountainous world.
Card 1: Grateful For You
And for the inside:
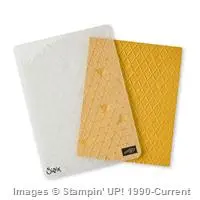
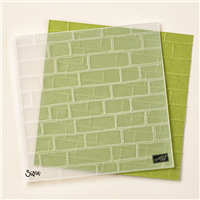
The base of the card is Cajun Craze. The Brick Embossing Folder was used to emboss Very Vanilla paper and then sponged with Crumb Cake, Baked Brown Sugar, and Cajun Craze. I sponged and responged until I reached the deep rich color I was after.
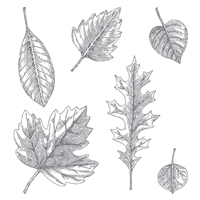
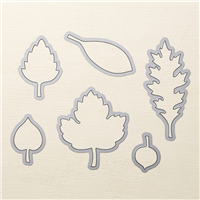
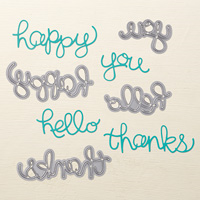
The leaves were stamped with the Vintage Leaves on Always Artichoke, Cajun Craze, and Crushed Curry and then cut with the Leaflets Framelits. The “You” comes from the Hello You Thinlits using Early Espresso Card stock and the new Precision Base Plate! No more running the card stock back and forth several times to get a good cut. The plate is a wonderful tool!
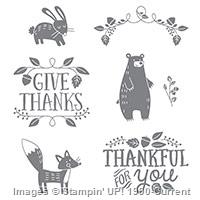
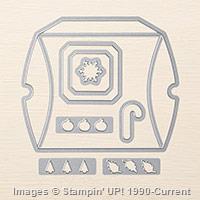
The Happy Thanksgiving is from Teeny Tiny Wishes and punched out with the Word Window punch. The garland is from Thankful Forest Friends and the little leaves are punched out with one of many thinlits in the Square Pillow Box Thinlit Die set. An Early Espresso Candy Dot ties all the colors from the front into the inside. Here are the supplies I used; click on any image to go straight to the store!
Built for Free Using:My Stampin Blog
Card 2: Thinking of You
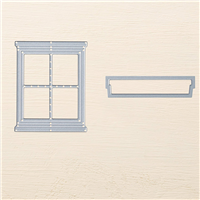
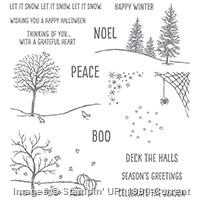
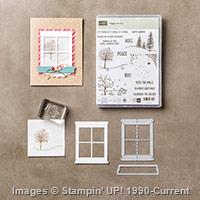
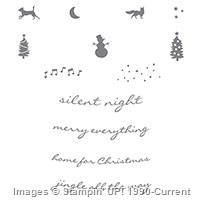
This was a fun card and a great introduction to the new holiday catalog. The stamp set with both types of trees is the Happy Scenes stamp set on page 11 of the catalog. It can be bundled with the Hearth and Home Thinlits Dies that I used for the window. (Bundling saves you 15% over buying each separately.) I cut out two windows and glued them in the middle to make a nice big picture window. The little dog comes from the Jingle All The Way stamp set on page 12. One of my stampers used the fox from that set for a wild look. The greeting is from the Happy Scenes set and bordered with dazzling diamonds glimmer paper cut out with the Bitty Banners Framelits. The glimmer paper is a full size banner cut out. The greeting is cut with the same framelit twice to shorten it. I am sure you recognize those apples from the Sprinkles of Life stamp set with its matching Tree Builder punch, and the cupcake base in the stamp set makes a perfect basket when bordered with a tiny bit of Tea Lace Paper Doilies. The little bow is Crushed Curry Baker’s Twine. The scene is stamped on our dotted specialty designer paper to give the look of falling snow. This card uses the symmetrical embossed dotted paper from Sale A Bration but we have a more snowy looking paper on page 142 of the big catalog called the Color Me Irresistible Specialty Designer Paper.
For the inside I just had to play with more products from the catalog:
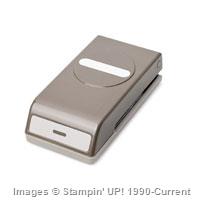
 The greeting is the Six Sayings host set in the holiday catalog (you host and earn the stamp set, I’ll do the work)! See page 51. The snow flakes are from the Flurry of Wishes stamp set, page 25, and punched with the Snow Flurry Punch-another pair you can bundle and save 15%! The Curvy Corner Trio punch is on page 18 and another must have. We were so sad when our little ribbon slide punch retired but now we have it back with two other punches all in one.
Built for Free Using: My Stampin Blog
Date Change: The next card buffet will be October 17 starting at 10:00.

Get Well Soup, Bohemian Birthday, Bohemian Thank You, Beautiful Birthday, Thank You, Card Box
(Click on the little SAL PAL icon to go to the blog, this is just a post.)
Hello Stamping Friends,
Where did summer go? Paul can’t wait for hunting season and I am already thinking about all those Christmas cards we will make together!
Let me show you what we did at the August card buffet:
Get Well Soup-printable pdf instructions
Card #1: Bohemian Get Well:
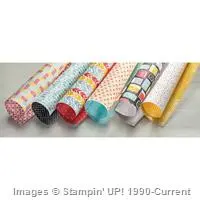
Isn’t the Bohemian Designer Series Paper (DSP for short) just beautiful. The first card uses the left over Very Vanilla paper from cutting the oval to make an additional layer. My stampers at the card buffet made that creative change.
How did you make that soup bowl? I am so glad you asked.
 You start by stamping the Very Vanilla layer with the whole image.
Then mask the little heart on the soup bowl with a sticky note and ink up the bowl part of your stamp.
Remove the sticky note! (That was the hardest thing to remember) and then stamp your bowl on the DSP.
 Make a little cut at the right side of the bowl to cut out the soup section.
 When you glue the bowl on top of your full image it will blend perfectly. Be sure and use Tombow liquid glue so you can get it perfectly aligned.
Then color the soup section. I used the fine tip end of my Crushed Curry marker and it gave a nice “soupy” look. For the inside I used a strip of DSP and a stamp from the Thoughts and Prayers stamp set:
Full directions and all the sizing are on the printable pdf file at the top of the first picture.
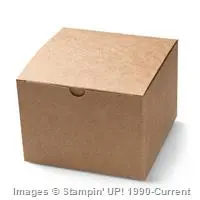
Envelope Card Box printable pdf instructions
As a thank you gift for attending, each stamper received this Envelope Card Box. Three of the cards at the card buffet used the Bohemian DSP and the card box used the same DSP so the stampers could have a lovely gift for themselves or have a gift to give with matching Get Well, Happy Birthday, and Thank You cards.
 I love the new Lots of Labels Framelits with its straight sides used for the buckle of the belly band, and there are seven sizes so truly LOTS of labels. The greeting is from Watercolor Wings.
Card #2: Bohemian Happy Birthday:
 This was the Happy Birthday with the Bohemian Designer Paper on Blackberry Bliss with the new Boho Chic Embossing Folder. I used a framelit from the Project Life Cards and Labels framelits to punch out the middle of the DSP where I stamped the Happy Birthday from the Birthday Blossoms stamp set.
The Bohemian DSP measures 3 5/8″ X 2 7/8″ and is on a Very Vanilla layer that measures 3 3/4″ X 3″. Not much else tricky on this card. It takes 23″ of twine to go around twice. The embossed layer is the same color as the main card stock and a full size of 5 1/2″ X 4 1/4″. The DSP cut out makes a perfect border for the inside of the card which uses another greeting from the Birthday Blossoms stamp set:
 This card comes straight from an example in the catalog. It is white embossing on the DSP with a base card stock of Rich Razzleberry and a Bermuda Bay Banner. The stamp set used is Another Thank You. For the inside, I stayed simple and used a greeting from the Crazy About You stamp set:
Card #4: Sprinkles of Life friend card
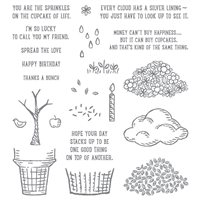
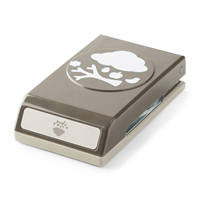
I couldn’t wait to play with the Sprinkles of Life stamp set inside the back cover of the catalog. It is this years Make A Difference stamp set. Stampin’ Up! donates $3 to the Ronald McDonald House Charities for each set they sell. But there’s more fun….. they have a punch that goes with the set! It is the Tree Builder Punch and punches out the clouds and tree leaves and the bird and the apple and the tree trunk! Here is my take on the set using Garden Green and Soft Suede:
 Kinda Eclectic is the stamp set with the sunshine and a Work of Art stamp makes quick work of adding green to the bottom. For the inside I broke my own rule and used a retired set from Sale A Bration called See Ya Later, it was just sooooo perfect for the card…..
 Nothing much you need help with on this card. The stamp sets do it all and the layers are the standard. What? You don’t have my Standard Layers worksheet? Let’s fix that:
Standard Layers-printable pdf file
Card #5: A Whole Lot of Lovely Thank You Card:
 This uses a hostess stamp set so now you really do want to have a party and earn this set – right?
There are only a couple tricky things to know on this card. The banner is the #4 banner framelit. Cut two of the same color and then cut 1/8″ off the top and the sides for a nice layered look. I used Versa Mark to add flowers to the top banner, glued it to the larger banner and then cut it in half, moved the halves 3/4″ apart, and glued the circle on top to lengthen the banner. You could also cut the paper exactly the width of the framelit, 1 7/8 “, and then run the banners only part way through the Big Shot to just cut the edges. We will do that with the next card but since this was behind a nice big circle I took the easy way. The stamped (colored with markers) Thank You is cut out with the Circle Framelit # 5 and the black border is punched with the 2 1/2 ” circle punch. This card was on Pinterest with Watermelon Wonder and Mint Macaron and looked great. This card uses Calypso Coral and last years In Color of Coastal Cabana. The inside used the same hostess stamp set:
Card #6: Birthday Blossoms:
 Hard as I tried to adjust the color this card looks blue but it is really a beautiful purple -Wisteria Wonder. It is also an example straight from the catalog with just a different card base and different ribbon and different twine. Okay, so it started out with an example from the catalog.
The tricky part is making the top layer longer than the largest framelit – easy peasy – if you remember to go through the Big Shot only part way to cut just the lovely curves and then back it out. You start with a Whisper White strip 2 13/16″ X 5 1/4″ to run just part way through the Big Shot using the largest of the new Lots of Labels framelits #7. The straight edges of this new set of framelits are perfect for adding ribbon. I put a strip of sticky tape on the back of each side of the label and used 4 1/2 ” White Organza ribbon which I trimmed after adhering. 12″ of Baker’s Twine gathered the ribbon nicely on the sides for a unique look. The stamps are all from the Birthday Blossoms stamp set, (we used two word stamps from that set on the Bohemian Happy Birthday) and the set is made for the pansy punch so no fussy cutting!
I won’t overwhelm you (or me) by listing every single item used in the six cards and the envelope box but please call or email me if there is something you can’t figure out. I would be glad to help, and if you don’t have a demonstrator I would love to earn your business!
As Always, SAL Stamp A Lot, Smile A Little, Share A Love
(and always be Salt And Light in your world!)
Karen

Dragonfly Congrats, Butterfly Flip Flop, Watermelon Curvy Keepsake
Hello Stamping Friends,
Dragonfly Congrats Card– Printable PDF File


Spritzer Recipe: 3/4 spritz bottle of alcohol with 20 drops of ink. To dry faster get a higher alcohol content %, for example 91%.
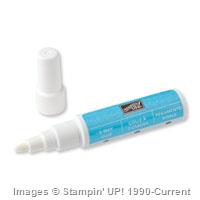
Blender Pen Solution: In a one ounce eyedropper bottle, combine 1/3 parts Glycerin (found in cake decorating section), 2/3 parts distilled water, 1/4 teaspoon alcohol. 1) Remove pen tip (pull and twist gently) and lay the tips flat overnight in fluid. Next day: 2) Fill the pen barrel with the solution. 3)Place the pen tip back in the hollow by pushing gently- do not push the tip but glide it in holding on the sides.
Thank you, Deb, for those instructions!! Here are the supplies, click on any image to go directly to the store.
Built for Free Using:My Stampin Blog
Butterfly Flip Flop Card – Printable PDF file
The outside:

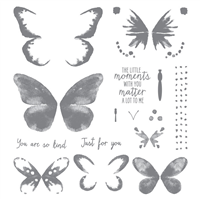
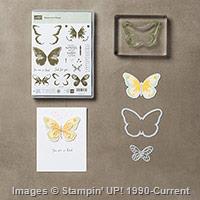
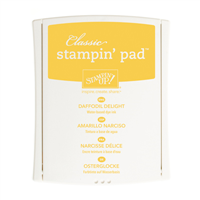
 Finally all the way over. Okay, so it really just took seconds but without a video I thought I’d better show the flip flop! The fun part was using almost every one of the Watercolor Wishes stamps as we did the three part stamping. We used Daffodil Delight – stamped off once for the first step, Crushed Curry for the second step, and Memento Black for step 3. Pinterest is full of charts of all different color combinations that you can use for gorgeous butterflies, just search on Watercolor Wings. The black satin ribbon (retired) was stamped with white craft ink for the greeting. The pictures don’t do it justice. Here are the supplies:
Built for Free Using:My Stampin Blog
 For extra detail, again with a 3″ piece of Whisper White, cut two parts with the slotted part of the Thinlit to be the watermelon rind. Glue them on the inside of the green.
Built for Free Using:My Stampin Blog

Happy Father’s Day- Pinwheel Spinner Card
Hello Stamping Friends,
How the year is flying by! Father’s Day crept up on me this year and I had to employ the help of my DH, darling husband, to make the Father’s Day cards. I had done a spinner card for Mother’s Day using the Sunflower card from Deb Valders Stampladee blog, (thank you, Deb), and thought it only appropriate to do a Father’s Day spinner card. Deb demonstrated how to do a pinwheel spinning card and that seemed masculine enough!
I picked a bright piece of DSP, and matched it with Bermuda Bay and Tangerine Tango for use as the card base and accent border. The greeting comes from the “Guy Greetings” set, a set that did carryover to the new catalog – hurrah!
POSTAGE HELP: The green button makes the card “nonmachinable” which means it will have a 22 cent surcharge to mail. Be very careful when you take your cards to the post office that you use the term “Nonmachinable”. I have taken cards in and been charged the small parcel fee which is about $2.49. The correct cost should be only 71 cents. I have written “Hand Stamp Please” on the envelope and still been charged the small parcel fee. It was nice to meet Dale at our local post office who searched for the correct category and even had a stamp to mark the envelope “Nonmachinable”. No more wasted postage.

Gift Bag Punch Board
Hello Stamping Friends,
We had a great time at the catalog launch last Saturday. We made a bookmark and refrigerator magnets with the new In Colors so we could see them up close and personal- they are beautiful colors! And that ribbon………just yummy!
To take those little decorations home, we needed a little bag so we used the new Gift Bag Punch Board (pg. 150 in the 2015 catalog) ((Thank you, Sheri))
The punch board has a Small, Medium, and Large size box, but with a little tweaking we could make an extra small box using a 6 X 6 piece of paper. (note: page 144 of the new catalog has three different paper stacks of 6X6 designer series paper). I didn’t get those in my first order so we made do with scrap from the past. Here are the gift bags ready for decorating with greetings, the starting paper sizes are on the sticky notes.
Stampin’ Up! has a great instruction video as well:


Guest Stamper – Jennifer Michael
Hello Stamping Friends,
Today the spotlight is on Jennifer Michael who joined the Stampalosopher team in February of 2014 and promoted to Senior Associate last month. Jennifer lives in Kiowa, CO and hosts a crafting/scrapbooking event on the third Saturday of each month.
She has graciously provided us with the instructions for the two cards she made at her March event:
Here is the printable recipe:
Irresistibly Yours Card

And the printable recipe:
Lotus Blossom Card
Thank you, Jennifer! It is great to have you as part of the team!
SAL,
Karen
Valentine Shaker Card and 3D Thinlits
Hello Stamping Friends,
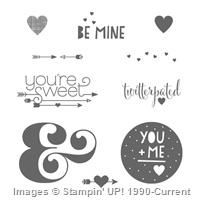
My Early Bird Stamp Club met Saturday and we had a great breakfast provided by our hostess, Sheri, and then made a Valentine Shaker Card and a 3D thinlit Card. I love the word “twitterpated” from Bambi and had to have that stamp set. Here is how I used it:


And here is a Recipe Sheet for you to print if you keep a notebook of ideas:
Valentine Shaker Card Recipe Sheet
Click on any of these products to go to the store:
Built for Free Using: My Stampin Blog
Our second card was a 3D Thinlit Birthday Card featuring the Crazy About You stamp set & Thinlit Bundle:


Recipe Sheet: 3D Thinlit Bday
Built for Free Using: My Stampin Blog
Card Buffet January 2015
The specials this week are very “special”! Did you know you can use your reinkers and Dazzling Diamonds Glimmer Paper to make many different colors of glimmer paper?!
Technique Alert: Colored Glimmer Paper: Drip drops of ink on your glimmer paper and use your Aqua Painter to spread the color evenly. So easy!
Card Buffet Report:
We had a great time with Valentines, A Sympathy card, A St Patrick’s Day card, A Birthday Card and A Thank You Card. Each stamper took home a Treat Box Holder with a bookmark designed by Peggy Tassler and featured on Too Cool Stamping with Angie Leach. Click on the link for directions. Here is my version with our new Stack With Love Designer Series Paper:

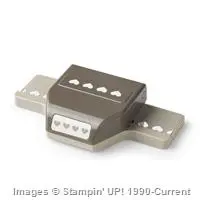
Do you see those little bitty hearts on the bookmark? They are from our new Heart Confetti Punch. Before this punch, our smallest heart was the owl punch heart which I used here with red glimmer paper inside the heart with the arrow. There are two different ways to make the window for the nuggets. Angie Leech used the Modern Label punch, lining up the punch with punched sticky notes. After trying that technique (second image) I used the Project Life Framelit so I only had to make one cut (first image).
Supply List
Built for Free Using: My Stampin Blog


Remember the Thank You card from a previous post? Jennifer did a double punch on the paper piercing and used a candy dot to match the stem of the flower. I love seeing the creativity of my stampers.
Have a great day and use hostess code JEJ32FKT to be entered in February’s online drawing. Congratulations to Shanon who won the set of Rhinestones in January’s drawing and December went to Robyn for post comments.
Stamp A Lot,
Karen


