
Have you ever tried ‘Triple Time Stamping’? It gives a fun look and is not hard to accomplish. You have three sizes of Basic White temporarily adhered together on which you stamp your images and then you pull them apart and add the borders. Easy peasy!
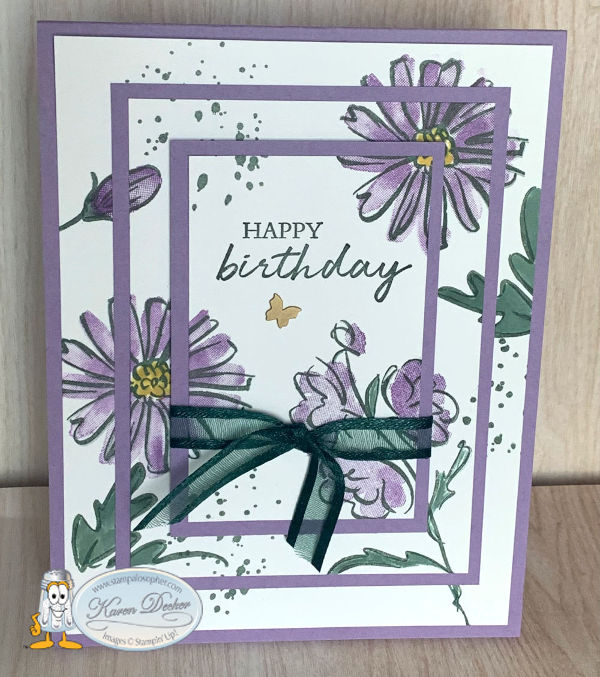
Color and Contour Triple Time Stamping Card (A)
 .
.
If you love a water color look, you will love this stamp set. You actually have one stamp for the outline and one stamp for the coloring. The stamps for coloring do not color in the flowers perfectly, use a Blender Pen or Water Painter if you prefer a perfectly colored flower with a water color look or use a marker in the same color.
 I love those little dots you added!
They are part of the set, Sal, take a look-see:

The Scalloped Contour Dies go with the set. Where you see the stamps with a pinkish color, that is showing a die that cuts that stamp. This die set is a must for your stash!

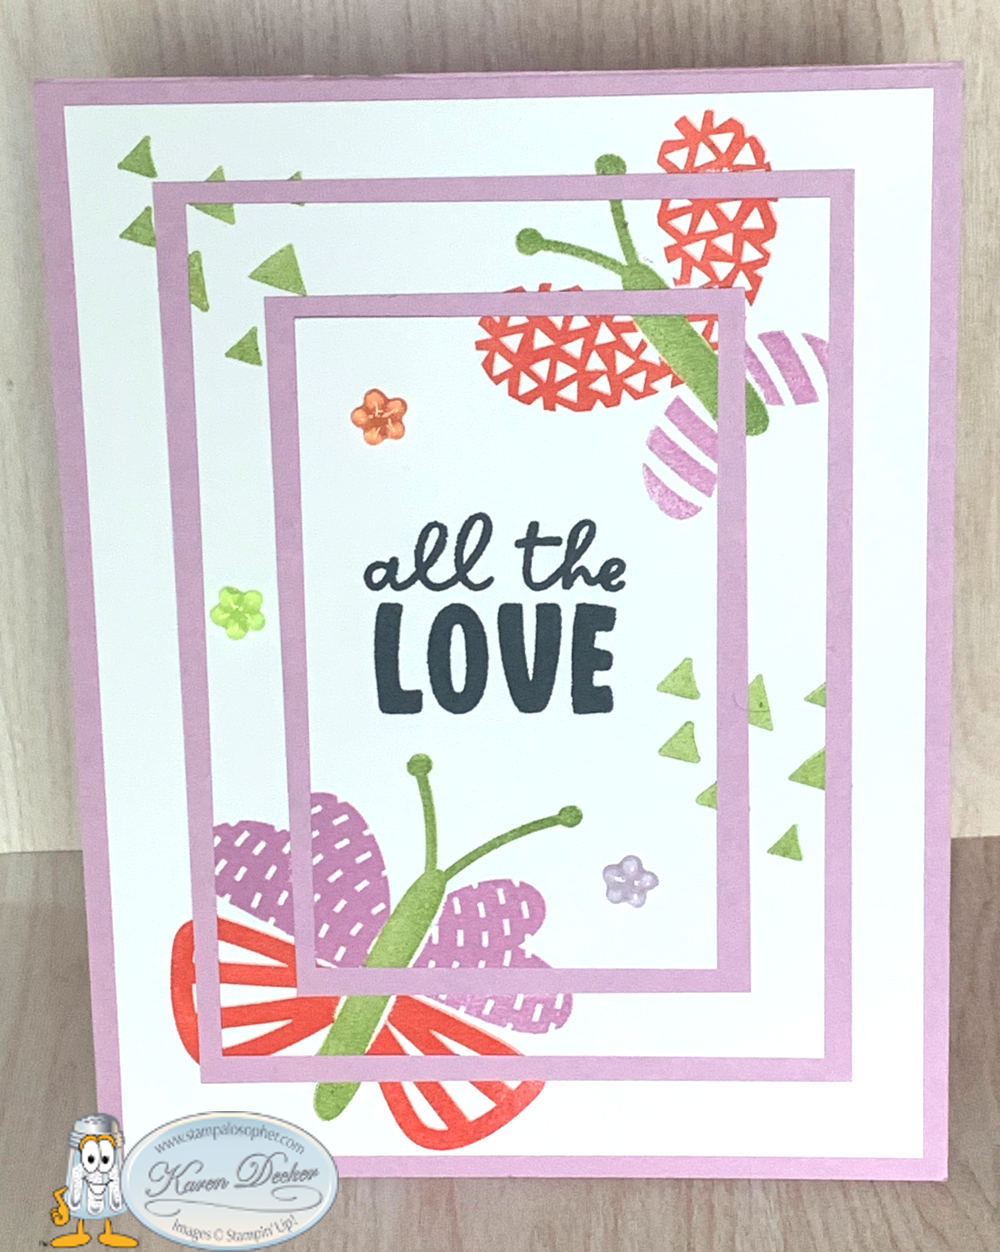
Best Butterflies Triple Time Stamping Card (B)
Design your own whimsical butterfly with the Best Butterflies stamp set! There’s big wings, small wings, big bodies, small bodies, big words, small words and triangles or dots for added interest! I used Fresh Freesia and Calypso Coral with Granny Apple Green on this card with a Fresh Freesia base. Those little flowers are Fun Flowers Resin Shapes.
 .
.  .
. For the butterfly card I found it best to use the Stamparatus to stamp the images; with the added layers it is a bit hard to get the images to stamp completely so you need to stamp a second or third time. However, remember there is a border that will cover 1/8 inch of the image so don’t fret too much about those incomplete edges right next to a layer where the mat will be.
For the Best Butterflies card, use one plate for the butterfly bodies- stamp this first then mask, a second plate for the calypso coral wings and a third plate (or the back of your plate) for the fresh freesia wings. It makes a workshop go quickly to have them all aligned on different plates for perfect stamping. I had several butterfly body masks already fussy cut with our new Masking Paper to lay over the bodies before stamping the wings. Post it notes work pretty well if you don’t have the masking paper, just stamp the image on the post it note and fussy cut.
For the Color and Contour card, I mounted the stamps on acrylic blocks to give the stampers opportunity to stamp and color only what they wanted. I had an Evening Evergreen marker available so if the image wasn’t stamped clear to the edge we could use the marker to complete it, if we saw it was necessary after adding the border mats. I also had a Highland Heather marker so those who didn’t like the watercolor look could color in their flowers.
Secondly, start with stamping your greeting on the center layer, then stamp the images around the greeting.
Recipe for Triple Time Stamping Layers
- Base: A – Highland Heather; B- Fresh Freesia; 11 X 4 1/4, scored at 5 1/2
- Mats: same cardstock as bases
- 3 1/4 X 4 1/2
- 2 1/4 X 3 1/2
- Artwork Layers: Basic White, Temporarily adhere together with temp glue or use just a bit of snail and then use your fingers to rub the snail so the oil in your fingers makes the glue less sticky
- 2 X 3 1/4
- 3 X 4 1/4
- 4 X 5 1/4
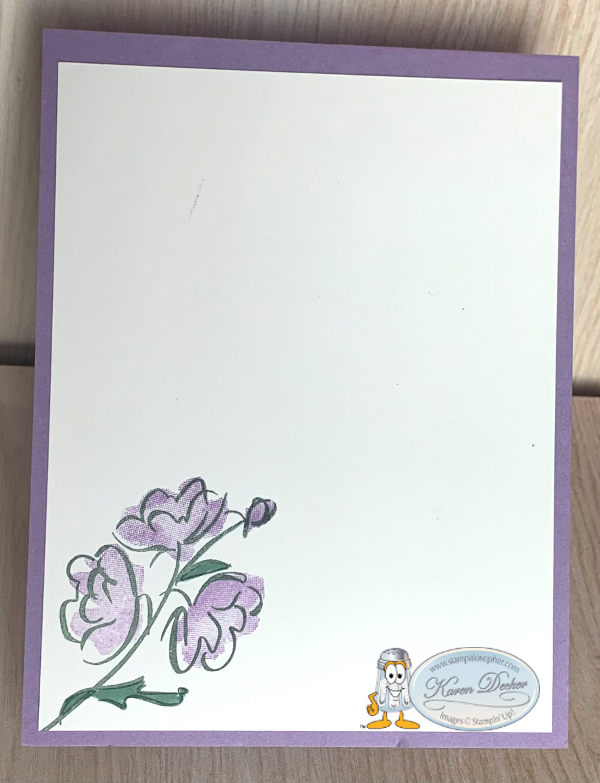
- Inside Layer: Basic White, 4 X 5 1/4
- Ink: A- Evening Evergreen, Highland Heather, Crushed Curry; B- Fresh Freesia, Calypso Coral and Granny Apple Green with the greeting in Tuxedo Black.
- Embellishments: A- Evening Evergreen Open Weave Ribbon, Brass Butterfly; B- Fun Flowers Resin Shapes
The recipe sounds pretty easy!
The beauty, Sal, is all in the stamping and adding the borders!
For the Color and Contour card I used a Happy Birthday greeting from the Shaded Summer Stamp Set.
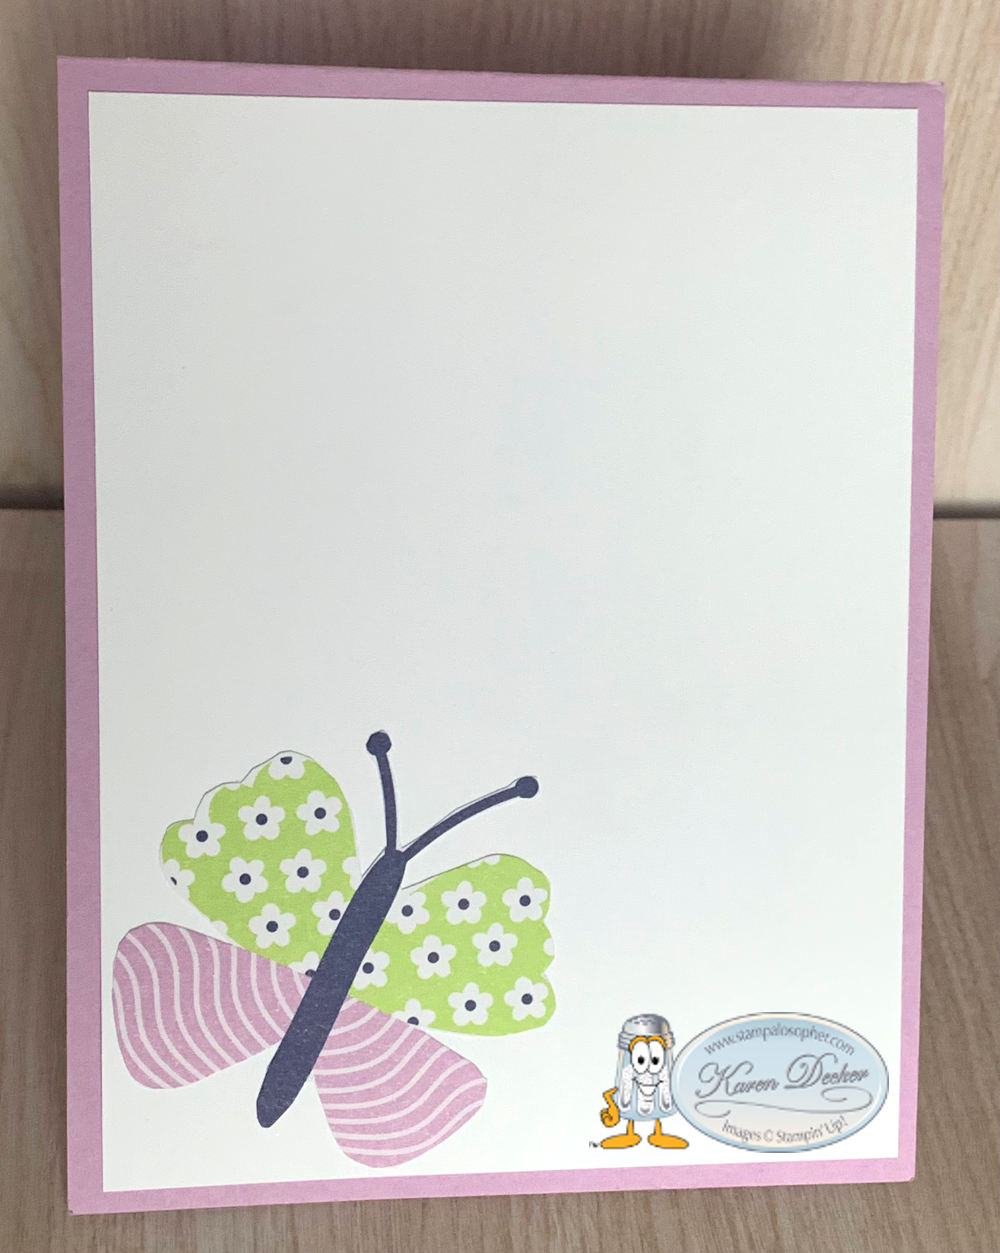
For the inside of the Best Butterflies card, I used a fussy cut butterfly from the Butterfly Kisses Designer Series Paper.
Click on little Sal in the computer to go to the online store.
SAL, Sharing A Love of stamping
Karen
