
Hello Stamping Friends,
Paper Piecing with Summer Shadows Dies:
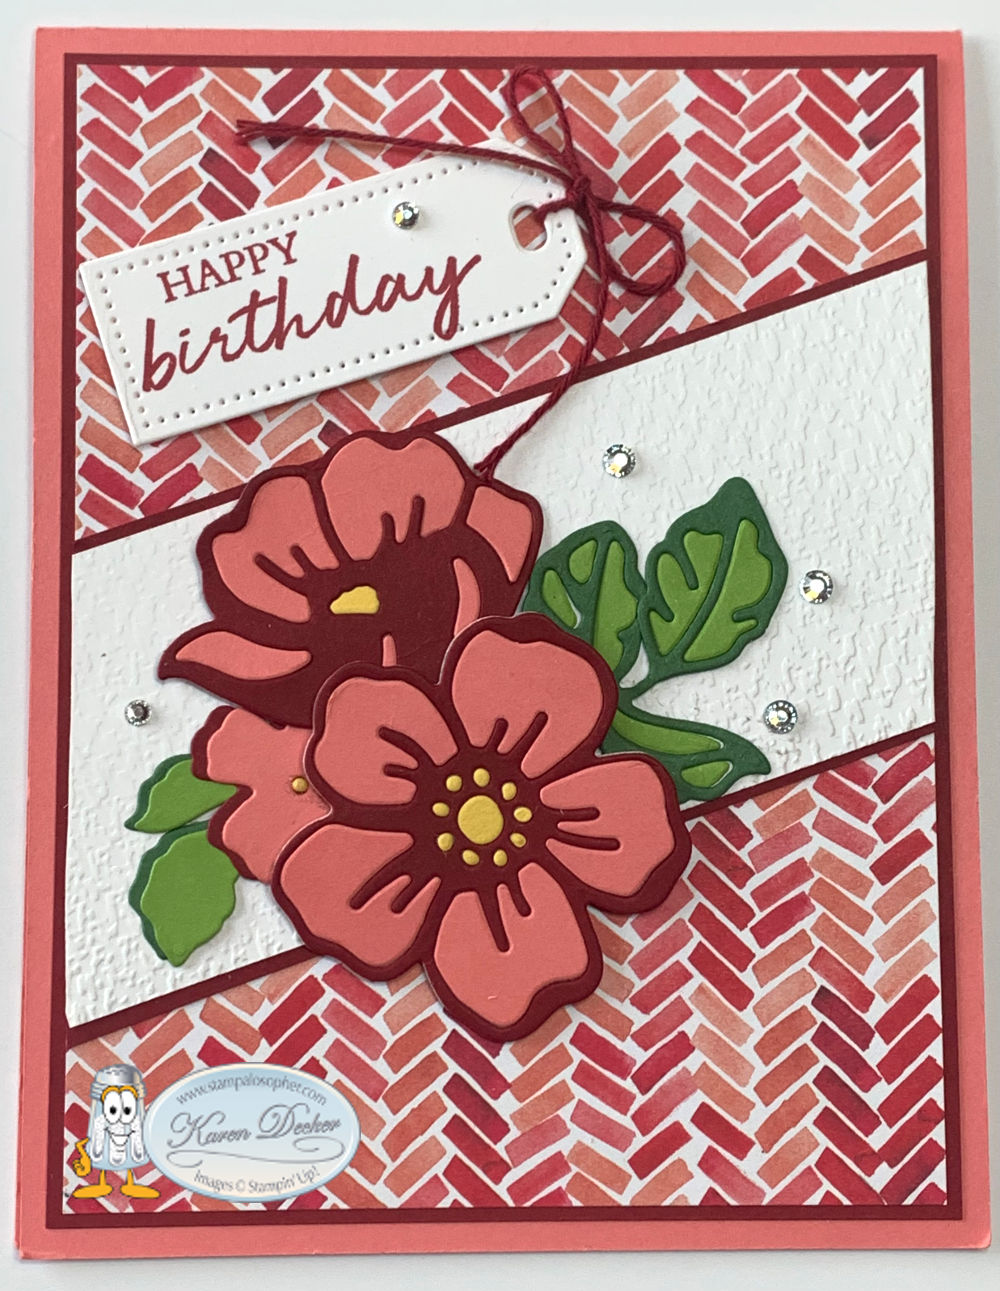
I had fun yesterday making this video to show you how to do Paper Piecing with the ‘Summer Shadows Dies’ . They coordinate with the Shaded Summer stamp set.
 Your customers keep asking about that technique.
I know, Sal, and this is the perfect set of dies to help out with paper piecing. There is a set of background dies and a set of detailed dies in exactly the same size! We can cut the backgrounds using the double back adhesive sheets and then die cut two colors in the detail dies for the paper piecing.
 .
.  .
.
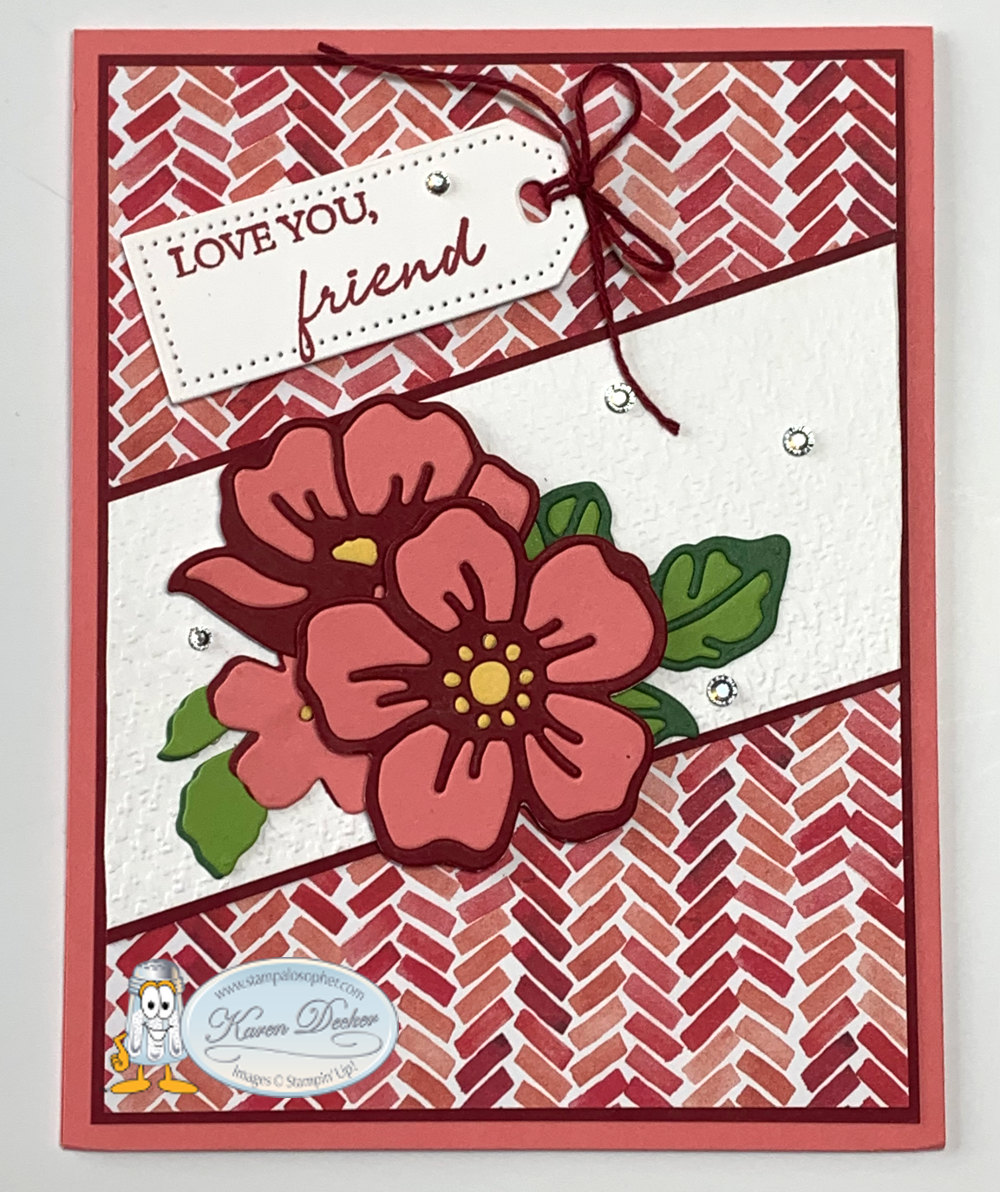
An alternative using a different stamp in Shaded Summer:
That doesn’t look like the stamp in the set. It is not on two lines.
Shhh, Sal. I took my snips and cut the stamp apart so it would fit on the Tailor Made Tag.
Recipe:
This card was inspired by the diagonal strip that I saw on a card by Mary Deatheridge.
- Stamps: Shaded Summer
- Dies: Summer Shadows Dies, Tailor Made Tags Dies
- Markers: Cherry Cobbler, Flirty Flamingo, Granny Apple Green (DO NOT USE BLENDS-blends stain stamps)
- Base: Flirty Flamingo, 4 1/4 X 11, scored at 5 1/2
- Layer 1 (make 2-one for the inside): Cherry Cobbler, 4 X 5 1/4
- Layer 2: Designer Series Paper (DSP)- Painted Christmas, 3 7/8 X 5 1/8- NOTE: Do not mount until diagonal strip is on
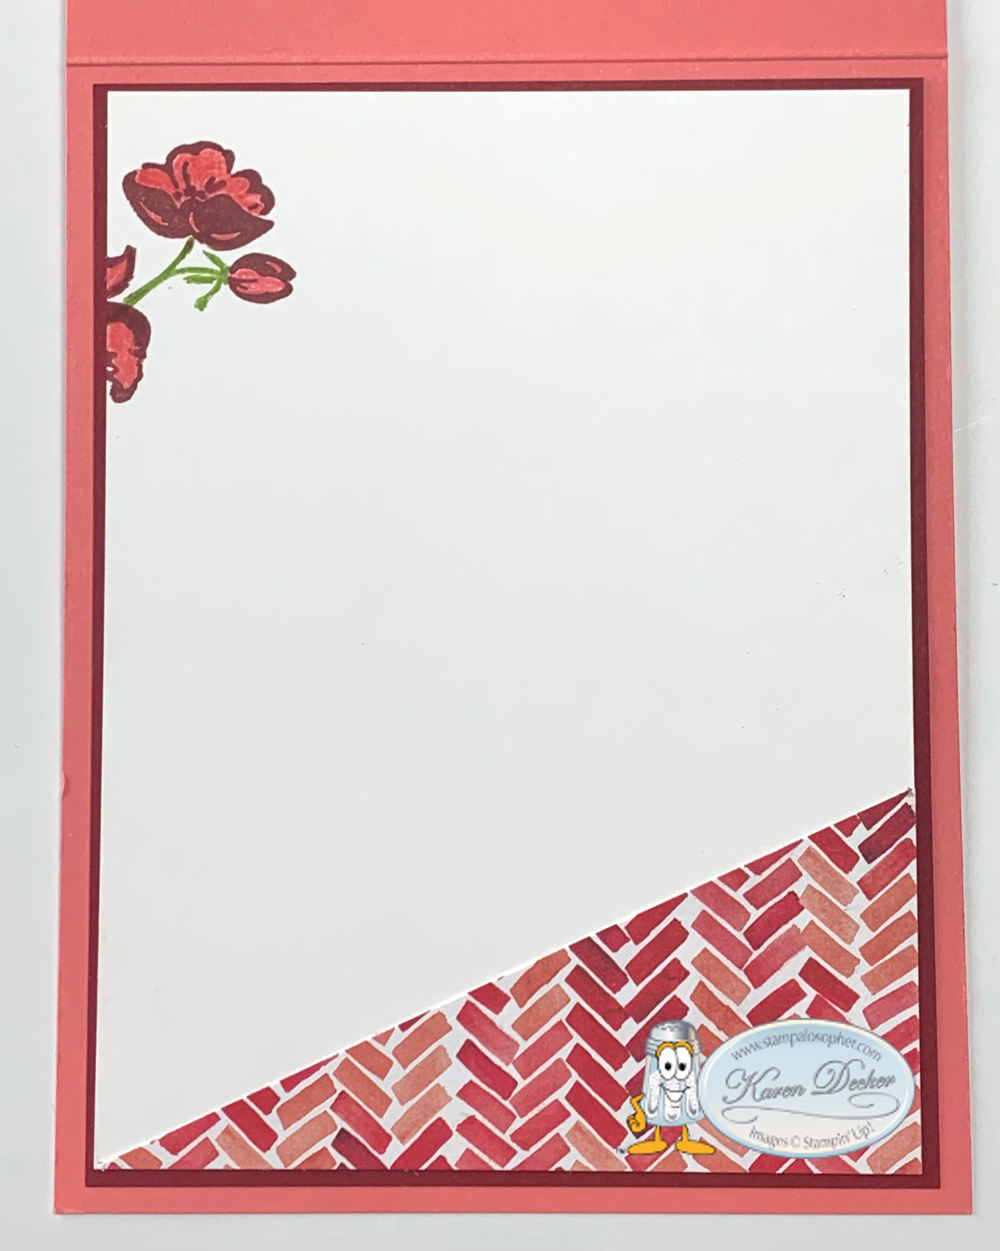
- Layer 2-Inside: Basic White, 3 7/8 X 5 1/8
- Layer 3-Inside: DSP, 1 3/4 X 3 7/8 cut diagonally, Hint: if you make two cards, this is the remainder of two 3 7/8 X 5 1/8 pieces; Tip: Make sure when you cut your diagonal it runs the same way as the diagonal on the front. Yep – made that mistake.
- Diagonal Strip: Basic White, 2 X 5,
- Emboss with Tasteful Textile 3D embossing folder
- Border on Strip: Cherry Cobbler, 2 1/8 X 5 1/8
- Adhere the Basic White strip on this small Cherry Cobbler border
- Mount this bordered strip of Basic White on the DSP diagonally, the left side is about 2″ down from top, 3/4″ up from bottom
- Turn to the back and cut off the excess strip
- Now mount to the main Cherry Cobbler layer
- Tag: Basic White, 1 1/2 X 2 3/4, Stamp then die cut with smallest of the straight top Tailor Made Tags Die
- Flowers: the dies on the left are background dies, the dies on the right are detailed dies for the top and the two at the bottom are just cute dies I layered together without any paper piecing.
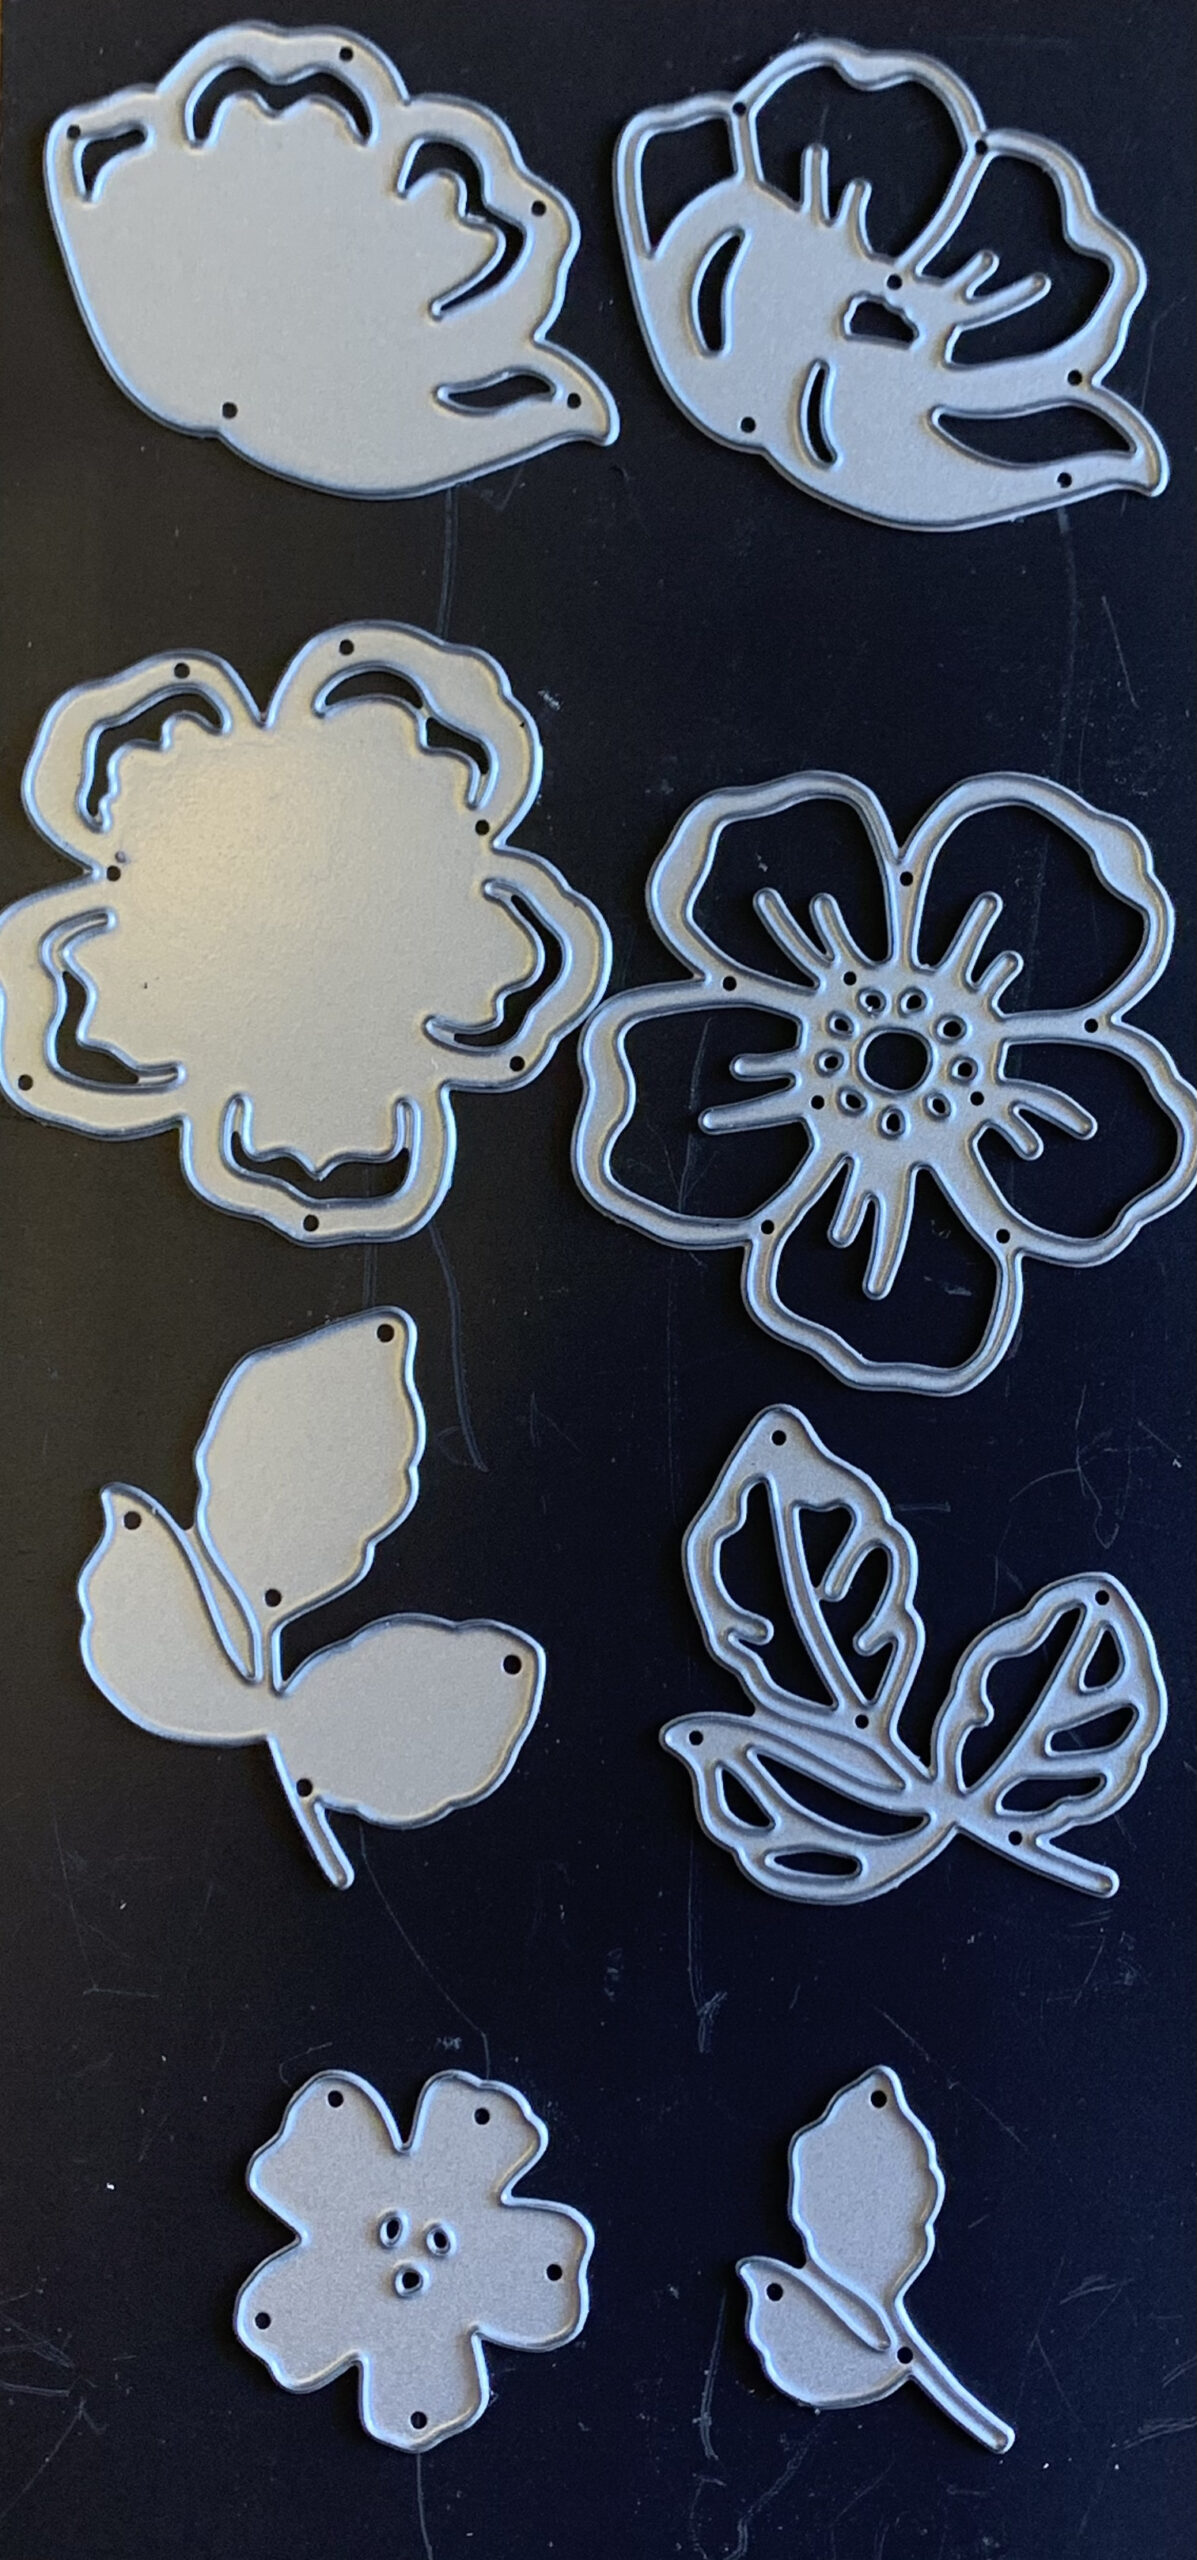
-
- Adhesive Sheet, 3 X 4, Die cut the two background flowers and the large leaves background from the sheet. Place the die on the side that is NOT shiny when you cut.
- Cherry Cobbler: 4 X 2 1/2, die cut two large flowers and the little flower with the detailed dies; adhere to the adhesive sheet background
- Flirty Flamingo: 4 X 2 1/2, die cut two large flowers and the little flower with the detailed die;
- NOTE: Layer a piece of dryer sheet underneath the cardstock of the large flower detail dies before cutting; after cutting use tweezers to pick each inside piece off the dryer sheet and place on the adhesive backgrounds
- Layer the little flowers, no paper piecing with these, with a bit of the Cherry Cobbler peeking out from the Flirty Flamingo little flower
- Leaves:
- Garden Green, 2 1/2 X 2, Die cut with the detailed triple leaf die and the little leaf die; place the triple leaves on the adhesive background cut from the adhesive sheet shown above
- Granny Apple Green, 2 1/2 X 2, Use a dryer sheet underneath your cardstock and die cut with the detailed triple leaf die and the little leaf die
- Layer the little leaves, no paper piecing with these, with a bit of the Garden Green peeking out for a layer to the Granny Apple Green little leaf
- Flower Stamens: (sounds more scientific than the ‘inside of the flowers’) Daffodil Delight, 3 X 2 1/2, place the cardstock on a dryer sheet before die cutting
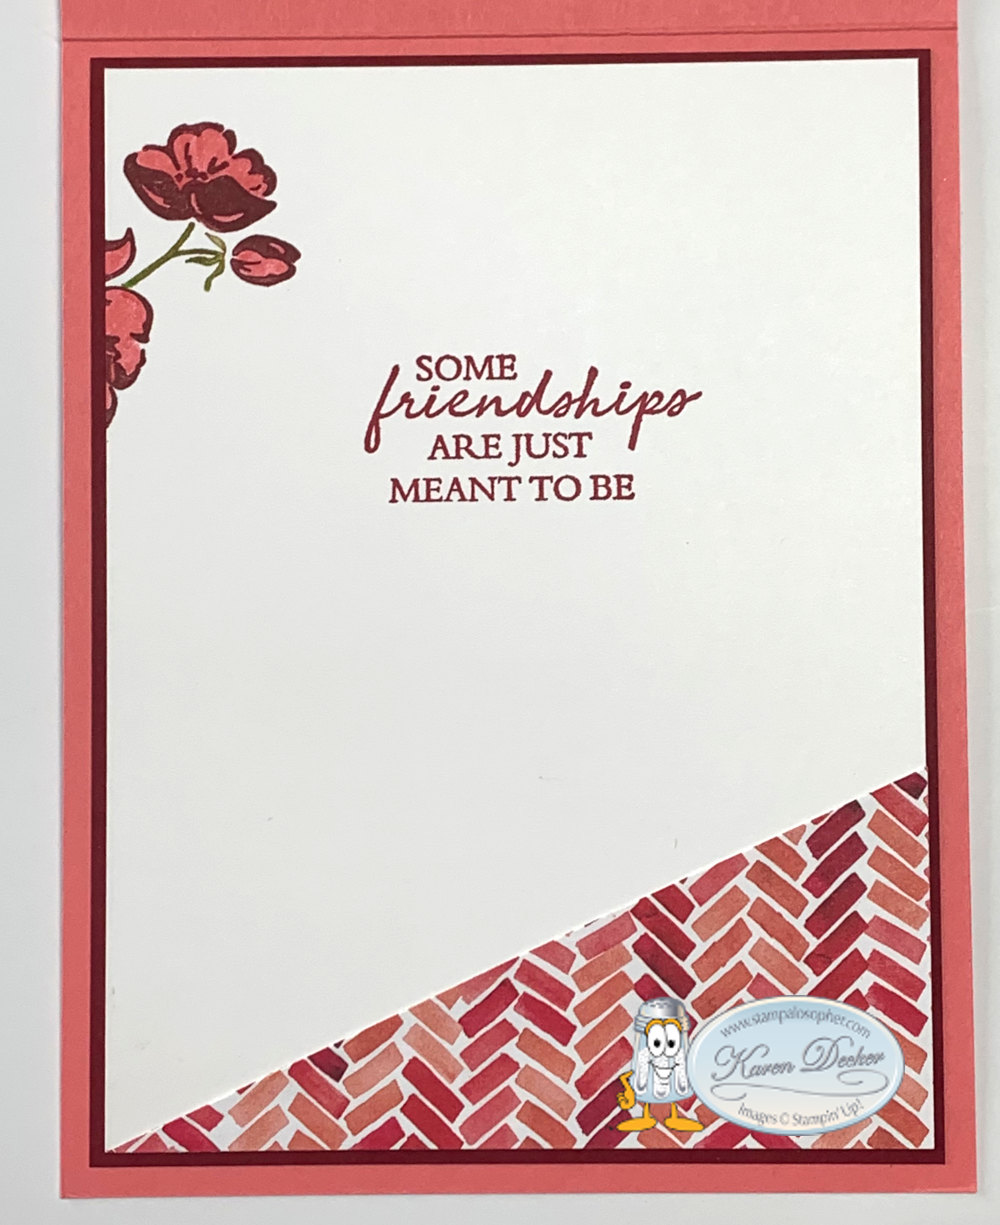
- Inside Stamping:
- Mount your large flower stamp from Shaded Summer on the Stamparatus and color your stamp with MARKERS in Cherry Cobbler and Granny Apple Green, then stamp the top left edge of the inside
- Color in the flower image with Flirty Flamingo marker
- Embellishments: 9″ Cherry Cobbler Twine, 5 Rhinestones
What if I don’t have double back adhesive sheets?
Good question, Sal. In that case you would cut the background pieces from a Basic White sheet, apply glue to the background pieces and then adhere your pieces starting with the color you want on the outside.
Start your bouquet at the left edge by gluing down the little leaves, then glue the little flower directly down. Here’s another conundrum – dimensionals don’t stick to the adhesive backing so if you want to pop them up, as I did here, you need to cut some of the larger dimensionals in half and place them where the cardstock shows through and not remove the adhesive backing sheet. I positioned the two flowers where I wanted them without gluing them down so I could place the triple leaf correctly. The leaf adhesive backing can be removed for a nice flat mounting. When it was mounted, I then mounted the two flowers.
I would love to see the colors you come up with in Paper Piecing using the Summer Shadows Dies! Post a picture in the comments below.
Thank you for sharing your precious time with me today!
SAL, Share A Love

[…] . […]