Home » Posts tagged 'Flip Flop Card'
Tag Archives: Flip Flop Card
Dragonfly Congrats, Butterfly Flip Flop, Watermelon Curvy Keepsake
Hello Stamping Friends,
Dragonfly Congrats Card– Printable PDF File


Spritzer Recipe: 3/4 spritz bottle of alcohol with 20 drops of ink. To dry faster get a higher alcohol content %, for example 91%.
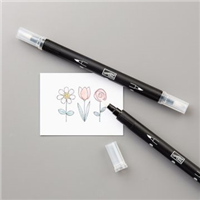
Blender Pen Solution: In a one ounce eyedropper bottle, combine 1/3 parts Glycerin (found in cake decorating section), 2/3 parts distilled water, 1/4 teaspoon alcohol. 1) Remove pen tip (pull and twist gently) and lay the tips flat overnight in fluid. Next day: 2) Fill the pen barrel with the solution. 3)Place the pen tip back in the hollow by pushing gently- do not push the tip but glide it in holding on the sides.
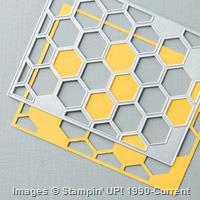
Thank you, Deb, for those instructions!! Here are the supplies, click on any image to go directly to the store.
Built for Free Using:My Stampin Blog
Butterfly Flip Flop Card – Printable PDF file
The outside:
The inside before flipping: Yes, sometimes people just think you made a floppy card so they need a little instruction:
The flip begins:
Almost Over:

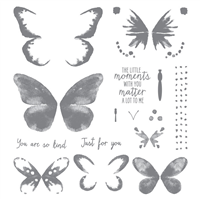
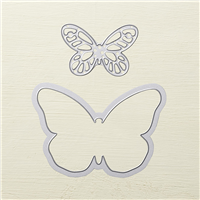
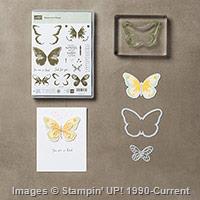
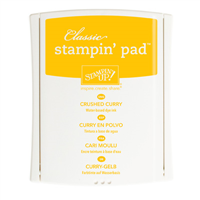
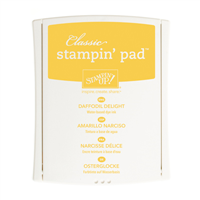
 Finally all the way over. Okay, so it really just took seconds but without a video I thought I’d better show the flip flop! The fun part was using almost every one of the Watercolor Wishes stamps as we did the three part stamping. We used Daffodil Delight – stamped off once for the first step, Crushed Curry for the second step, and Memento Black for step 3. Pinterest is full of charts of all different color combinations that you can use for gorgeous butterflies, just search on Watercolor Wings. The black satin ribbon (retired) was stamped with white craft ink for the greeting. The pictures don’t do it justice. Here are the supplies:
Built for Free Using:My Stampin Blog
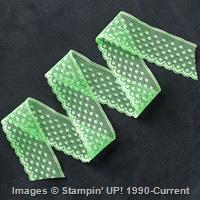
We divided in teams and I challenged each team to detail the products used in this Curvy Keepsake Watermelon Box. The winning team went home with a Watermelon box filled with a sample of Cucumber Crush and Watermelon Wonder 1″ Dotted Lace Trim. Thanks go to Chris Slogar at buckeyeinklings.com for the great design! The grocery store just happened to have matching cookies!! Let me give you a few pictures and some helps with the construction:
You need two outside Cucumber Crush partial pieces using the slotted side of the Thinlit. Cut a piece 6″ X 11″ and tilt the thinlit so it doesn’t get caught in the side of the Big Shot and break. Trim the extra to the right of the square to make a nice tab you will use for gluing on the Red Watermelon Wonder parts. Stamp the green with the stripe in the “Work of Art” stamp set.
Using a 3″ strip of Watermelon Wonder, cut two red parts with the rounded part of the Thinlit, glue them to the tabs on the green sections.
 For extra detail, again with a 3″ piece of Whisper White, cut two parts with the slotted part of the Thinlit to be the watermelon rind. Glue them on the inside of the green.
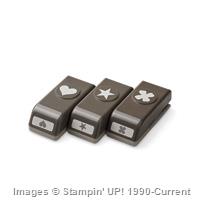
The watermelon seeds were the cutest part! Just punch out three Itty Bitty Hearts from the Itty Bitty Punch Pack. Cut them in half, lay them on your Silicone Craft Sheet and apply a coat of Crystal Effects. If you can do this the night before you won’t be impatiently waiting for them to dry- a good two hours.
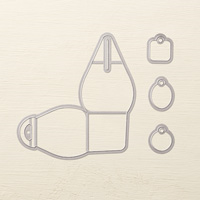
We made the greeting using the Banners Framelits, cutting one side for a banner and then turning the framelit around to cut a nice arrow on the other side. Use a 1″ strip of Whisper White. The greeting shown is the “Honeycomb Hello” stamp set that has a cute bumble bee- perfect for a summer day eating watermelon!
And here are the supplies:
Built for Free Using:My Stampin Blog
And that my friends was club in July! If you would like to be part of this fun loving stamping world, contact me at 303-815-0838 or [email protected]
Have a great day!


