Happy Valentine’s Day!
Hello Stamping Friends,
I have a Never-Ending Valentine for you today, (also called a Perpetually Folding Card). Love should be never-ending so it seems perfect! There will be a video from the Stampin’ Up! office at the end but here is the outside of our Never-Ending card:
Then the top folds up and the bottom folds down to reveal the first layer:
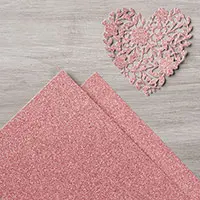
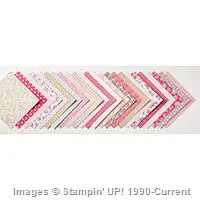
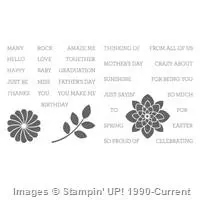
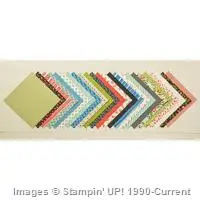
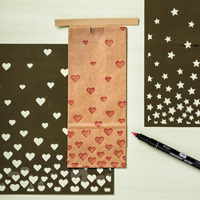
The little hearts are made with the blushing bride glimmer paper. The stamped images are all from the “Bloomin’ Love” Stamp set on page 17 of the Occasions catalog. The paper is on that same page – Love Blossoms Designer Series Paper Stack. Now lets open the Love You to reveal….
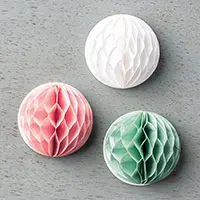
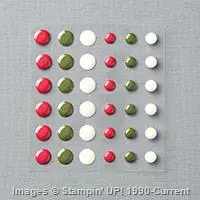
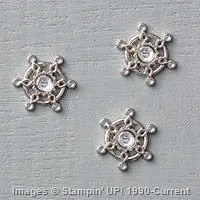
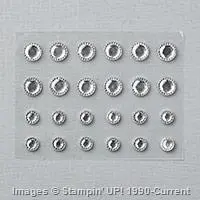
…a fun way to use the new Honeycomb embellishments on page 9 of the Occasions catalog. Now we flip the top and bottom again and have a new layer:
and all the stamps are in the same set! Here is the home office with a video:
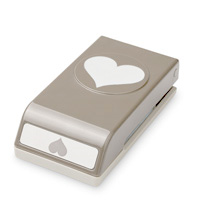
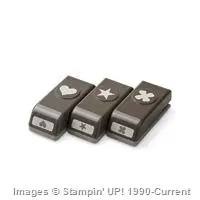
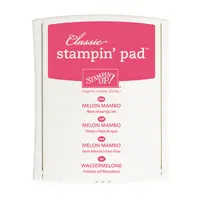
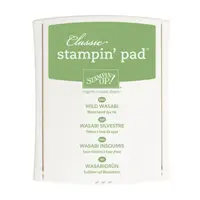
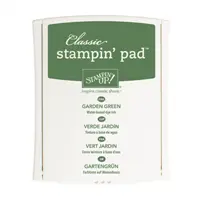
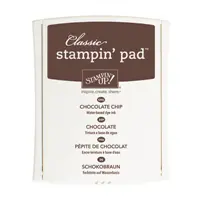
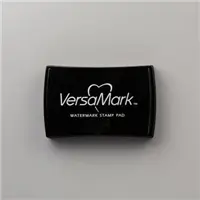
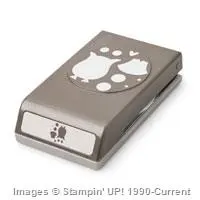
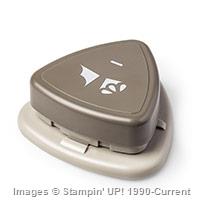
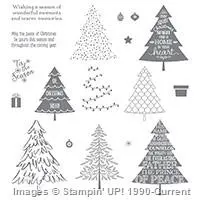
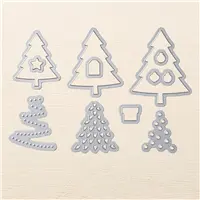
Supplies Used (Click on any image to go directly to the online store):
Built for Free Using:My Stampin Blog
Built for Free Using: My Stampin Blog
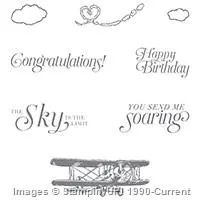
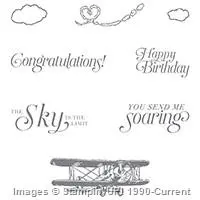
 Pay close attention to the last three items in the catalog. They are only available through February 15. Here is a card made using one of the Limited time stamp sets – the “Sky Is The Limit”:
Built for Free Using:My Stampin Blog
#12 of 12 Cards of Christmas
Hello Stamping Friends,
Christmas isn’t officially over until we actually go to bed right? So it is still Christmas at my house and I have one last card for you. This card with its removable angel ornament was made for Safyre in New York. She is the little girl the internet was buzzing about who lost her family and her home in a fire. She survived but is badly burned. Her wish was for Christmas cards to hang on her tree so I decided she needed an angel to hang on her tree. Do you remember the punch art angel we made with the Gift Bow Bigz Die? It uses the smaller of the two bows on the die.
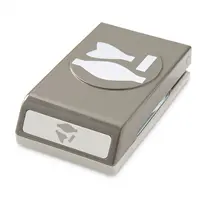
I wondered what the angel would look like with our new Bow Builder Punch, so I made one!
Of course I needed to make a card for the delivery of the little winged ornament so voila:
And for the inside I tied in the red and gold using gold metallic ink. That ink is discontinued but gold embossing powder would be better!
Here are the instructions followed by the supplies used:
Punch Art Angel Card PDF Instruction Sheet
Built for Free Using:My Stampin Blog
#10 & #11 of Twelve Cards of Christmas
Hello Stamping Friends,
The two cards for today are from the November Paper Pumpkin kit. Subscribe to Paper Pumpkin and for $19.95 a month (plus tax) you will receive a kit with all the supplies and complete instructions for that month’s projects. A great way to indulge your need to create something without the brain fry of doing the designing. (However – Pinterest is full of alternate ideas you can use!) Click HERE to subscribe. You will be asked to choose a demonstrator and I would love to be your choice.
And for the inside I used the greeting from the hostess set Six Sayings. The holly leaf is a Paper Pumpkin stamp colored with markers. I added a Cherry Cobbler layer with a Whisper White layer on top instead of stamping directly to the Paper Pumpkin card. The Paper Pumpkin stamps had “Bright & Merry”, “Seasons Greetings”, “Happy Holidays” and a “NOEL” stamp like the “JOY” stamp, so you really don’t need other stamps.
If you would like to create your own similar card I have added a PDF instruction sheet with dimensions. We have tools to cut out greenery and could easily convert either of these Paper Pumpkin cards to a birthday card or……….
Holly Card-Paper Pumpkin PDF Instruction Sheet
There were supplies in the Paper Pumpkin for five of the Holly cards and five of this next Mistletoe Card:
I used the Cozy Christmas stamp set for all the stamped images and added layers to the inside of the card for a bit of extra pizzaz.
Mistletoe Card-Paper Pumpkin PDF Instruction Sheet
Paper Pumpkin would make a great gift and can be purchased in 1-month, 3-month, 6 month, or 12 month subscriptions. Click on the image to go to my store and purchase a subscription. You will then receive a code by email and a link to www.paperpumpkin.com where you will enter the code to complete your subscription.
Merry Christmas! See you soon for one last very special card for a very special little girl. Stay tuned.
Karen
#8 & #9 of Twelve Cards of Christmas
Hello Stamping Friends,
Today’s card is a quick and easy card with two different versions. You can cut out all the layers the same and then customize the top with either the Holy family or the Wonderland trees. The Seasonal Frame Thinlits Dies set (#139658) is on sale and great for saving money on paper by using the large rectangle to cut out the inside of your layers. We will do that on this card with the silver foil layers. Download the PDF instruction sheet, shown after the images, for all the dimensions.
Card #8 All Is Calm Version 1
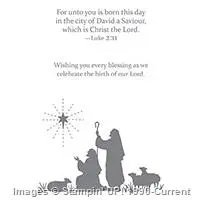
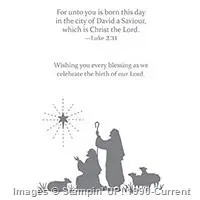
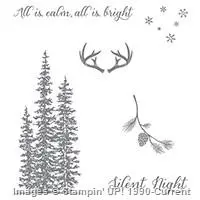
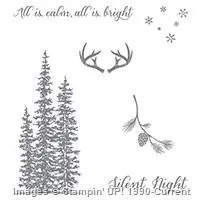
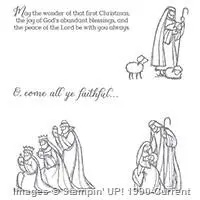
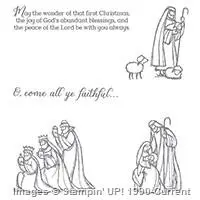
The Holy family and the inside greeting are from the All Ye Faithful stamp set in the holiday catalog. The star is from Every Blessing on page 70 of the main catalog. The “All is calm, all is bright” greeting on the side is from the Wonderland set. The embellishment is in the holiday catalog, page 23, and on sale now!
Card #9 All Is Calm Version 2
Cased from Deb Valder with a few changes.
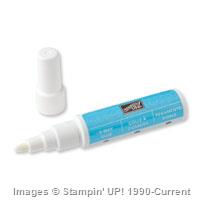
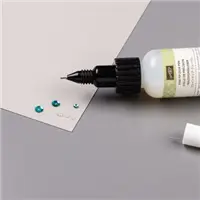
I originally bought the Wonderland stamp set just to have one stamp with six different sizes of snowflakes but the trees are just fabulous and when shadow stamped on the inside (ink and stamp and then move your stamp slightly and stamp again without reinking) they are so striking! I used the 2-way glue pen to add glitter to the trees and snowflakes; just be careful to only put the glue over the stamped image so it doesn’t look yellowy when it gets on the whisper white.
The greeting is from Every Blessing. Click on the blue link for the PDF instruction sheet:
All Is Calm, All Is Bright PDF Instruction Sheet
Here is the list of supplies:
Built for Free Using: My Stampin Blog
#7 of 12 Cards of Christmas
Hello Stamping Friends,
It is snowing here in Castle Rock, Colorado, with several inches expected, so today’s card is just perfect! This was one of our club cards in November. Club will start again in January so contact me if you are interested in joining.
Card #7 Flurry of Wishes with the technique of Watercoloring on Vellum.
I saw this technique on Stacey Lane’s blog “A Work of Carte” and then revised it to make a more mottled look. Hmmm, I think we should call it coloring with rubbing alcohol. My PDF sheet has step by step instructions but the basic idea is to dot your vellum with reinkers, then dribble with a cap of rubbing alcohol and use a paintbrush to swirl the ink. Salt the inked sheet, let stand for several minutes, then spritz with alcohol to get a mottled look. Let dry and then use a paper towel to remove the salt.
Flurry of Wishes PDF Instruction Sheet
The main Merry Christmas is from the Flurry of Wishes set but the others are from a random selection of stamp sets. I wanted a collage look but after stamping the “Love, Peace, Joy” I decided less was more! Wishing you every blessing is from Every Blessing in the big catalog, Love, Peace, Joy comes from A Little Something, Warm Wishes from Winter Wishes, Sending Every Good Wish is in the carryover White Christmas set. When I used just part of a saying, I masked what I didn’t want with a sticky note, inked the stamp, removed the sticky note and stamped. Except for the main Merry Christmas, the greetings are stamped off on scrap paper first and then stamped on the card. Supplies used:
Built for Free Using:My Stampin Blog
Built for Free Using: My Stampin Blog
# 5 of Twelve Cards of Christmas
Hello Stamping Friends,
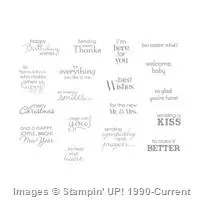
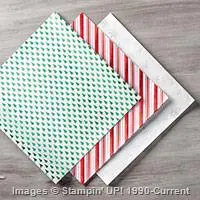
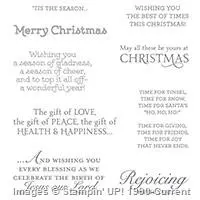
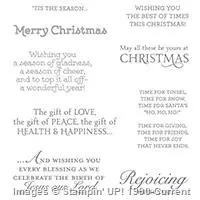
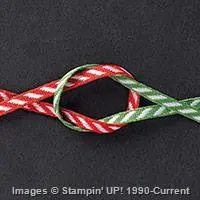
Thank you for visiting/following. I would love to hear if any of the cards has inspired you! I am calling today’s card the Rejoicing Pocket Card. It is one that would be easy to mass produce and is the fourth card using the Versatile Christmas stamp set. The Designer Series Paper (DSP) that I used in the pictured card is retired but the new “Home For Christmas” paper on page 9 of the Holiday catalog has a red and white striped paper that would look really awesome with the red and white striped ribbon. The directions are in a blue link right after the pictures in a printable PDF file. Just click on the blue link and the file will download for you. The card and directions will also be in the recipe box so you have the measurements and can make pocket cards for birthdays, get well, or other times when you need a quick card. I first saw it on Dawn Olchefske’s blog. Thank you, Dawn!
Rejoicing – Pocket Card Printable PDF Instruction Sheet
I think I need a new camera, (or new glasses?). Yesterday’s post looked like I spritzed it with Crumb Cake instead of sparkly white and today’s very vanilla looks a tint of red. Sigh A Loud! (Can’t resist playing with SAL acronyms.)
So here are the supplies you need. Just click on any product image to go directly to the online store.
Built for Free Using: My Stampin Blog
#4 of Twelve Cards of Christmas
Hello Stamping Friends,
As you think about Christmas this Black Friday, don’t forget all the great specials at our online extravaganza! Give gifts of stamping tools and accessories or buy what you need to make special handmade gifts!
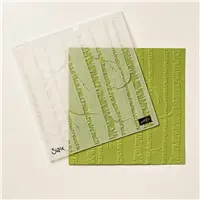
Today’s card #4 of our 12 cards of Christmas, and the third of our verses from Versatile Christmas, is called the “Pick Me…” Forest card. The instructions include the technique “Stamping on Embossing Folders”.
_Pick Me.._ Forest Card Printable PDF Instruction Sheet
The instruction sheet has two additional pictures of images stamped on the Woodland embossing folder to show you the potential of this folder. Here are the supplies:
Built for Free Using:My Stampin Blog
#3 of Twelve Cards of Christmas-Best of Times
(If you are viewing this in your email, it is a post. Click on the little SAL image to go to the full blog!)
Happy Thanksgiving dear friends! May your day be blessed with food, fun, friends and family! Should you need an afternoon craft project I have a fun Christmas card that is quite easy to make.
Best of Times #3 of Twelve Cards of Christmas

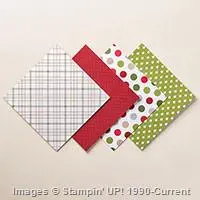
 This is the second card using the Versatile Christmas stamp set. I challenged myself to create a card for each of the verses and came up with this “clock” card. The Merry Moments DSP used on the front has a Merry Moments Cardstock Pack that matches! There are eight sheets of three cardstock colors, Smoky Slate, Cherry Cobbler, and Old Olive. What a great new product bundling that Stampin’ Up! is doing for us! It takes a 6X6 envelope so have your envelope punch board ready! Here are your instructions with all the measurements and helpful hints:
Best of Times Clock Card Printable PDF Instruction Sheet
Supplies for the card, click to be redirected to the online store:
Built for Free Using: My Stampin Blog


